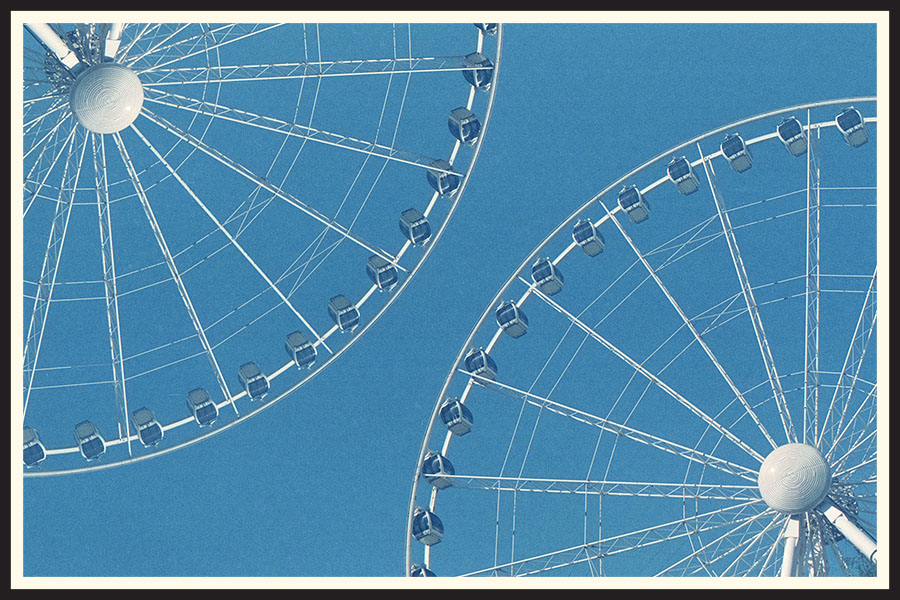
How to Take Double Exposures on Film.

Last Updated

Powered by Creative Commons.
Photo attribution available here.
This site contains affiliate links. We may receive a commission for purchases made through these links.
Many film photographers love the look of double exposures. And while you can easily create the same effect on most digital cameras or Photoshop, there’s something special about double exposures on film.
Part of the allure comes from the element of surprise – no matter how much you plan out the exposures with a final image in mind, you won’t know exactly what the results look like until you get your film developed.
If you want to try shooting double exposure on film but don’t know where to start, the process is probably a lot easier than you’d expect.
We’ve broken down all of the different techniques needed for different types of cameras, tips for the best results, plus some ideas to help you take interesting double exposures.

Dedicated Double Exposure Mode
Without a doubt, the easiest way to take double exposures on film is to use a camera that offers this setting.
That said, it’s not necessarily common for film cameras to have a multiple exposure mode.
You’ll most often find this option on electronically controlled SLR cameras, especially those produced in the mid-1980’s and later.
There are a few benefits to a camera that creates multiple exposures for you – first and foremost is the ease. The camera does all of the heavy lifting, while you just need to worry about what your subjects will be.
And as you’ll see with some of the other methods, a dedicated double exposure mode prevents problems like frames aligning incorrectly.
Another benefit is that many film cameras with a double exposure mode are actually capable of more than just two exposures. Some models, like the Canon EOS 620, can create up to 9 exposures on the same frame!
We wouldn’t necessarily consider this setting high up on the list of what to look for in a camera, though – not unless you plan to shoot a LOT of double exposures on film.
Chances are, if a film camera offers a dedicated multiple exposure setting, it will be on the more advanced side.
Automatic exposure and a wide range of shutter speeds are commonly found on these types of cameras – these settings will most likely have a bigger impact on the shooting experience.

Using the Rewind Button When Advancing Film
Don’t worry – even if your camera doesn’t offer a double exposure mode, it isn’t too difficult to achieve the same outcome.
The first workaround involves tricking the camera into thinking that you’ve advanced the film, when really you haven’t.
This technique requires your camera to have two specific features – a film rewind button (usually located on the bottom of the camera) and a manual film advance lever.
After shooting the first image for the double exposure, you’ll hold down the film rewind button while simultaneously advancing the film lever.
When you use a film camera with a manual advance lever, the shutter will not fire after you’ve taken a photo – first you have to crank the lever to advance the film, which then tells the camera that it is ready for another shot.
By holding down the rewind button during this process, the camera doesn’t actually advance the film because it thinks you are going to rewind the roll.
Instead, the camera “resets”, enabling you to take another exposure over the top of the previous image.
This technique is nice because it allows you to shoot as many or as few double exposures as you’d like. The next method we’ll share is more geared towards shooting an entire roll of double exposures, which is more than most people want to commit to.
Plus, by using the rewind button, you’ll shoot both exposures one after the other, ensuring that you can frame both shots as intentionally as possible.
As we noted above, this technique only works if your camera has a film rewind button and a manual advance lever.
These features are most commonly found on older SLR cameras with somewhat mechanical operation. If you have a newer film camera that automatically advances the film, you won’t be able to use this technique.
Shooting the Entire Roll Twice
The last method to shoot double exposures on film is the most versatile – you can use this technique no matter what type of camera you’re shooting.
It’s pretty straightforward – you shoot an entire roll of film, take it out, then shoot it again.
A lot of cameras rewind the film entirely into the cartridge once you finish shooting. Usually, this is helpful – you can quickly determine whether a roll of film has been shot by checking if the end of the film (also called the “leader”) is sticking out or not.
If this is the case for your camera, you can still pull out the leader quite easily, though.
The first option is to purchase a film leader retriever – they are usually less than $20 and exist solely for this purpose.
It’s also pretty simple to accomplish this with nothing more than a second roll of film (that still has the leader exposed).
All you need to do is wet the leader of the second roll of film, insert it into the cartridge of the first roll, and twist the cartridge until they stick together. Then, you just pull away from the first roll of film and the leader should pop right out.
Some cameras, like the Nikon L35AF, automatically leave the leader sticking out. And if you’re shooting a camera with manual rewinding, it’s usually possible to stop rewinding before the leader is entirely inside the cartridge – it just takes some practice.
Tips for Shooting Double Exposures on Film
Now that you know the different methods to shoot double exposures on film, there are some tips that will ensure great looking results.
Double exposures are, by nature, a relatively experimental technique – no matter what you do, there is some level of uncertainty involved in the process.
So don’t feel obligated to follow each and every one of these rules – you’ll just have to find out what you like the best.
What Type of Film is Best for Double Exposures?
Most types of film will be perfectly fine for shooting double exposures – we’d usually avoid E-6 slide film, though.
Slide film already has a much lower exposure latitude than the other two film chemistries (C-41 color or black and white). In simple terms, this means that E-6 is less forgiving when you don’t get the exposure right.
Metering for double exposures on film can already be tricky, so when you use slide film, there’s a higher chance that the final image will be over or under exposed with muddy details.
And this is not even mentioning the extremely high cost to shoot slide film. We’ve seen some beautiful double exposures shot on E-6, but for most photographers, the risky outcome is not usually worth the cost.
Between the other two chemistries (color vs black and white), it comes down to preference more than anything else.
In general, black and white film has the best exposure latitude, so you could consider B&W the safest type of film for shooting double exposures.
Most times, we find the results much more interesting on color film, though. Black and white double exposures are often more subtle – without any color, the two frames can blend together in a natural looking manner.
When taking double exposures on color film, it’s almost always obvious. We prefer the way that different colors and textures play together in a single frame with multiple exposures.
Again, most of this comes down to preference and you’ll just have to experiment with different types of film to see what you like the best.
Metering for Double Exposures
As we mentioned, metering for double exposures on film is a bit more complicated than metering for single images.
Think of it like this – exposure is essentially how much light is let into the camera, which translates to the level of brightness in the final image.
A “correct” exposure is one where the image has the ideal level of brightness. An “overexposed” image is too bright (from too much light) where an “underexposed” image is too dark (from not enough light).
When you take a double exposure on film, you’re recording two images onto the same frame. If both images are correctly exposed on their own, that means that the final frame actually has twice as much light as is needed.
This is why it’s so common for double exposures to appear a bit brighter than most other film photos.
The solution for this is simply to underexpose each of the images by one stop. This effectively means that you’re letting in half the amount of light for each of the images, so that combined, you still end up with a correct level of exposure in the final frame.
Fortunately, the “exposure latitude” we mentioned above comes into play here – most color or black and white film is perfectly capable of being over exposed by a stop or two, while still producing a relatively correct exposure.
This means that even if you don’t underexpose the images in a double exposure, the end result should still be visible, although a bit bright.
Personal preference is also a piece of the puzzle – some photographers like it when their double exposures are a bit overexposed, furthering the unique, dreamy style that draws them to this technique in the first place.

Aligning the Frames When Shooting a Roll Twice
One common issue when shooting double exposures on film is that the frames don’t properly line up when putting a roll through your camera twice.
Unfortunately, there isn’t a way to completely guarantee that the two frames will be perfectly aligned.
A common technique to align both sets of exposures is quite simple – mark the location of the film when it’s loaded the first time.
On the film’s first pass through your camera, you’ll load the film as normal, and then use a marker to draw a line across the film, using the opening of the film cartridge as a guide.
Upon loading the film for the second time, you just want to make sure that you don’t pull the film past that first line. Ideally, you’ll be able to align the marked line as close to the opening of the cartridge as possible.
Subject Selection for Best Results
It’s helpful to understand what will happen on a double exposure when you’re selecting your subjects.
On the first exposure, the darkest parts of the image will allow the second exposure to be most visible in the final image. For the brightest parts of the first exposure, the second exposure will not be visible in the final.
It may sound a little bit confusing, but it’ll make more sense when we look at an example image.
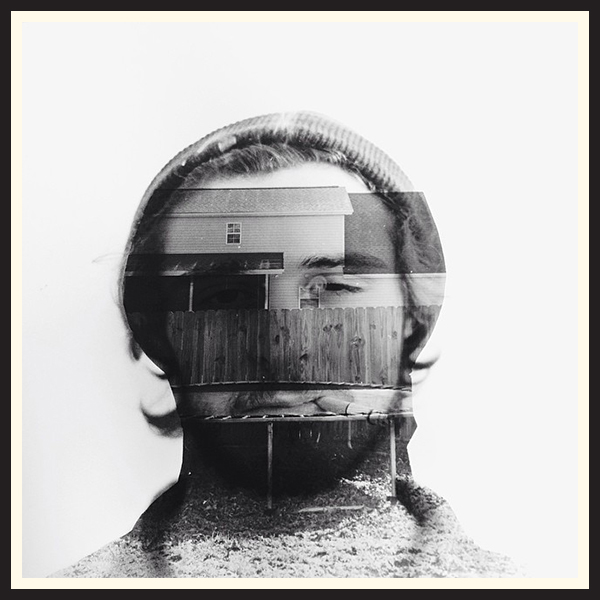
In the image above, the first exposure was the portrait – the subject was placed in front of a plain background that was much lighter/brighter than the subject.
The second exposure was the landscape (the building, fence, and grass). If this exposure was taken on its own, the entire frame would’ve been filled with the rest of the scene.
As you can see, the darker parts of the first exposure (the man’s face) allowed the second exposure to be visible in the final image, where the lighter parts of the first exposure (the plain, white background) did not.
This is really the key to creating interesting double exposures – awareness of each exposure’s contrast, and thinking about how the two exposures line up.
Ideas for Interesting Double Exposures
The best way to find out what type of double exposures you like is simply to experiment.
Some people prefer to shoot the different exposures somewhat randomly and let the results surprise them. This can be a lot of fun, and every once in a while, you may get an image much more interesting than you could’ve possibly planned for.
If you want to take a more intentional approach, here are some ideas that have been known to create beautiful double exposures on film.
Silhouettes Filled with Patterns
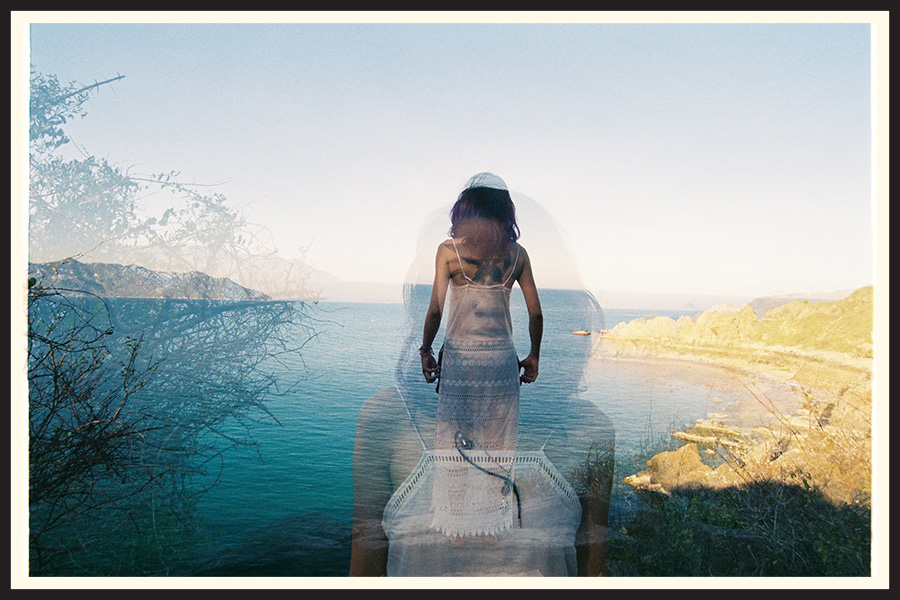
One of the most common techniques for taking double exposures on film is to shoot a silhouette for the first exposure with an interesting pattern for the second.
As seen in the example above, this can produce beautiful, visually interesting images.

Multiple Exposures of the Same Subject
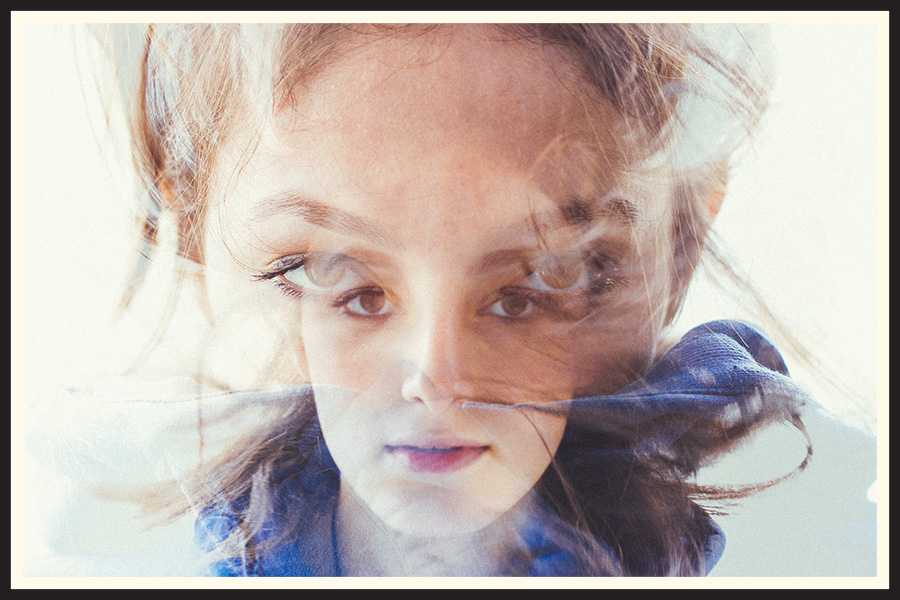
Shooting multiple exposures of the same subject can also create stunning results.
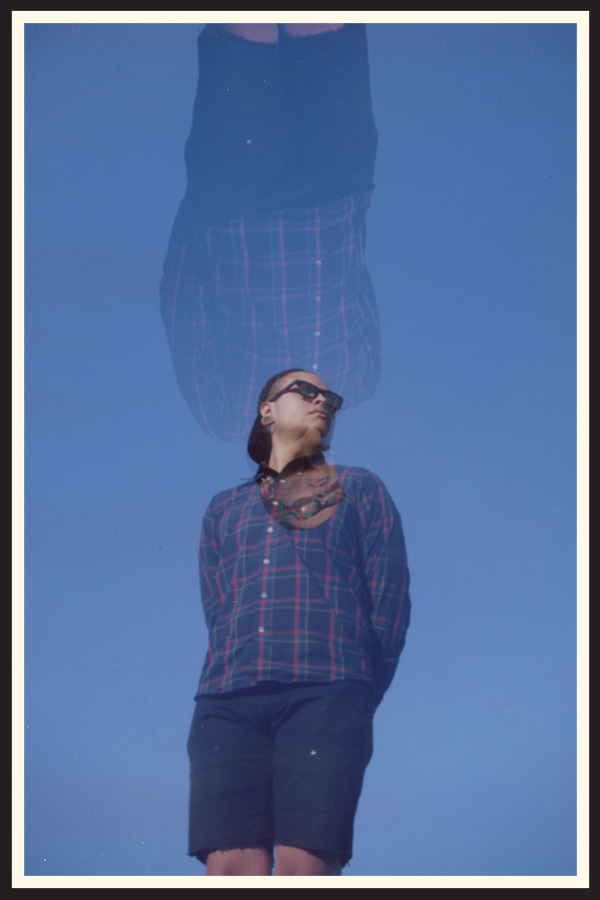
Especially for portraits, try shooting both exposures of the same subject while adjusting the framing between the two.
Swapping Film with a Friend
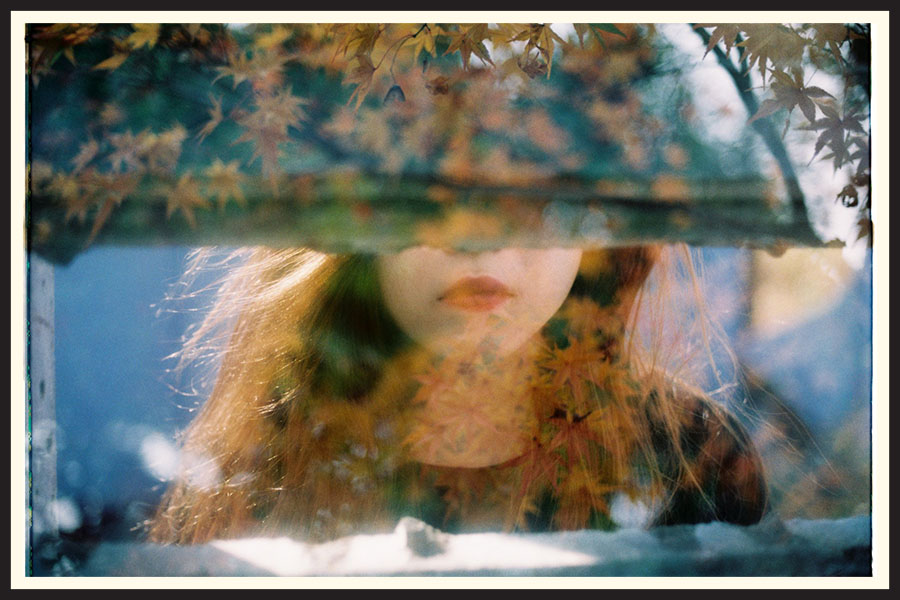
A good old fashioned film swap can be a fun experiment. In all honesty, there’s a good chance that a lot of the final images won’t be quite what you had in mind, but that’s the fun!
You can keep things extremely simple – you shoot the roll first, pass it off to a friend, and then wait patiently to see the end results.
Or, you can try to be a little bit more intentional – maybe the first person shoots only portraits and the second person shoots only landscapes.
This will likely produce more uniform looking results – it’s up to you if that sounds better or worse than being completely surprised.
Text Over Images
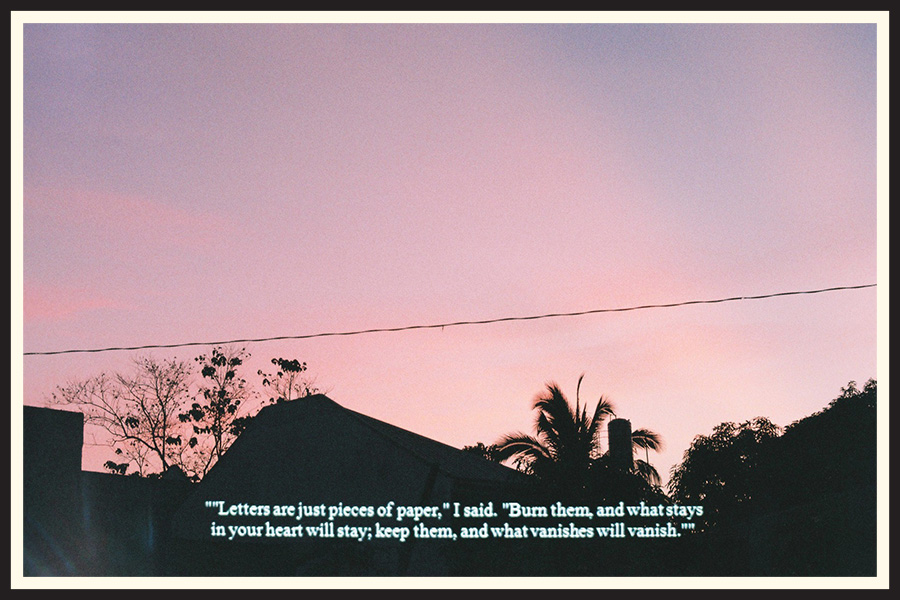
Sure, this effect could be achieved in photoshop in a matter of seconds, but it’s even cooler when you’re shooting the double exposure on film.
Try finding some sort of meaningful text – a passage from a book, captions from a movie, the title of a favorite song, etc – and combining that with another interesting image.
The effect can be even more powerful when you try to find some sort of common theme between the two exposures.
Changing the Angle of the Same Image
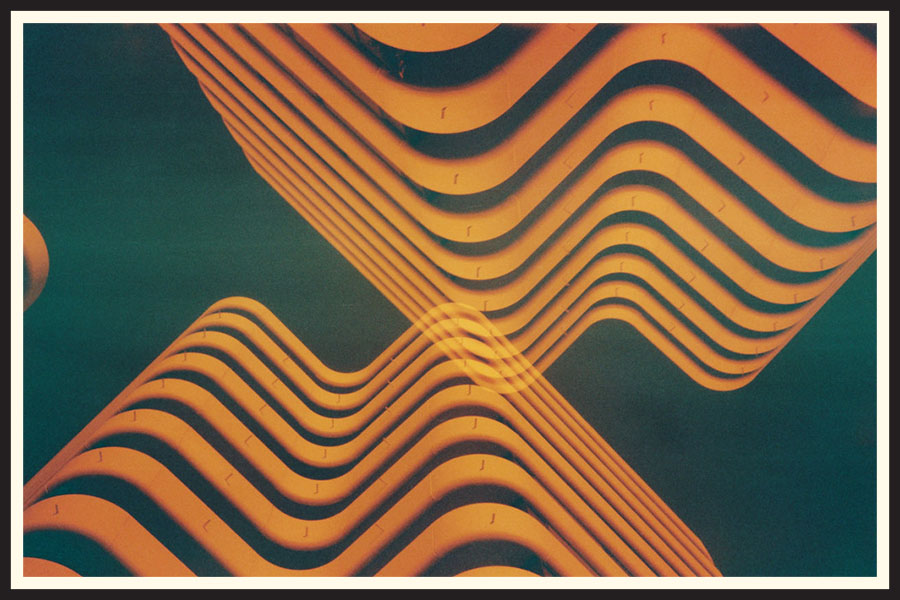
You can create some incredibly interesting patterns by taking multiple exposures of the same subject, especially landscapes and cityscapes.
After taking the first exposure, you can even keep your exact same position and rotate the camera 180 degrees, creating an interesting mirrored effect.

