
Guide to Scanning Negatives.

Last Updated

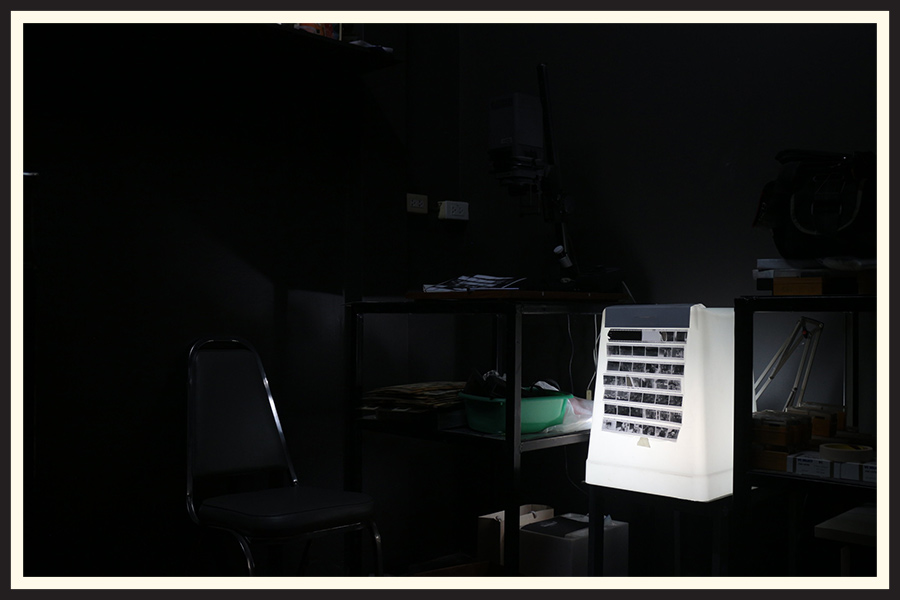
Powered by Creative Commons.
Photo attribution available here.
This site contains affiliate links. We may receive a commission for purchases made through these links.
If you’re just getting started in film photography, you may be wondering the best way to scan negatives. Or maybe you’re unhappy with the quality of your lab’s scans and want to consider other options.
Whichever is the case, we’ve broken down the best ways to scan your negatives and the pros and cons for each option.
There are more than a few ways to go about digitizing your film photos, but with some info about each option, it should be easy to decide which is best for you. Check out the list below.
Table of Contents

Get Scans with Developing at Your Local Photo Lab
This is obviously the easiest way to scan negatives to digital. Just about every lab that develops film will also offer scans of your film (although exceptions do exist). If you need to find the lab closest to you, check out our database of where to develop film.
If you’re getting your film scanned at the same time as processing, make sure to ask about what scanning options are available. Many labs will offer different sized scans, different ways of sharing the digital files, or even different levels of color correction to your photos.
It’s also worth noting that some photo labs don’t do a very good job scanning negatives. This process can be mostly automated and some labs send back scans without much (or any) human oversight. If you consistently get poor results, it may be time to look elsewhere.
Just know that there’s no problem getting your film developed without getting scans back. Plenty of people go to their local lab for developing only and then handle the scanning through one of the other options below.
High Res Scans From A Pro Lab
If you’ve gotten scans back and you weren’t pleased with the results, or you need the absolute best quality scans available, there are plenty of professional photo labs that do incredible work. You may just have to venture outside of the lab that’s closest to you.
Many times the cost can be a bit higher than at other photo labs, so be warned that higher quality usually comes with a price. If you’re planning to print your work, it’s definitely worth the investment to get good, high resolution scans (especially for larger prints).
Instead of getting high quality scans of every photo we take, we instead like to go to the pro lab just for scans of our absolute favorites.
If there’s a chance that we’ll want to print a copy at any time in the future, we’ll usually get a high resolution scan to keep on hand. Low resolution scans are perfectly fine for posting on Instagram.
When we say “pro lab”, all we mean is somewhere that is adequately prepared to produce work that is good enough for professionals.
A lot of mini labs don’t provide many options when it comes to developing or scanning film, often because their system is mostly automated. Professional photo labs should be able to scan your film in a variety of sizes.
There are also plenty of pro photo labs that offer mail-in services. Even if you don’t use them for developing, you can send in your negatives for scanning at labs all across the country. We’ve already written about the best online photo labs, including what kind of scanning options are available at each spot.
Film Digitization Services (Shoebox Scans)
If you’re looking for a way to digitize old slides or negatives and you have a large quantity, you may want to look into shoebox scans.
This type of service is often used when people are trying to digitize old photos from a family member.
This option is really only worth considering if you’re concerned about quantity over quality. You probably don’t need a super high resolution scan of every single one of Grandma’s 5,000 negatives, you just want to be able to see all of the photos.
Many businesses that offer this service operate online, so you send in the negatives (or photos, slides, video tapes, etc), and receive digital versions in return. The prices are often cheaper than you’d find at a traditional photo lab.
For whatever reason, the term “digitize” negatives or photos almost exclusively refers to this type of large-quantity scanning.
It can also be referred to as “shoebox scanning” – both terms are great to search if you’re interested in finding a spot to scan a bunch of old photos.

Cheap Film Scanners
As the price of film developing and scanning has continued to rise, there’s been an increased interest in cheap film scanners. This interest has been met with a handful of companies producing film scanners under $100.
Unsurprisingly, the quality of these machines ranges from absolutely horrible to still pretty bad. To be fair, we certainly haven’t tried every option available, but after talking to other photographers and trying a few ourselves, the consensus seems to be a big 👎.
One of these units may work well if you’re just trying to digitize old negatives and don’t care too much about the quality. This is probably the cheapest way to scan a significant amount of old negatives or slides.
Try at your own risk, but we think most photographers who are going through the effort (and cost) of shooting film in 2023 are going to be disappointed by the results.
FYI, The scanners we’re talking about are standalone units (no computer needed), have a small screen on them, and usually come in somewhere around the $100-$200 mark.
Flatbed Scanners
Flatbed scanners have become a very popular way to scan negatives. There’s no denying it – these days it’s very expensive to develop and scan your film at the lab. That’s not even considering how much the film itself costs!
Pros to Flatbed Scanning
- Cheaper than a dedicated film scanner
- Quicker workflow than other options
- Scan any film format (35mm, medium format, etc)
- Compatible with modern computers
- Use for other scanning needs (documents, artwork, etc)
Cons to Flatbed Scanning
- Scanning 35mm can provide mediocre results (medium format is usually better)
- Photos require post-processing, which can be time consuming
- You may need to pay extra for software
- You may need to pay extra for film holders, or glass inserts to keep the film flat
Photographers are somewhat split on the topic of flatbed scanners – some people can produce great looking results while others won’t touch them.
If you shoot something other than 35mm film, flatbed scanning may be a more enticing option for you. It’s hard to find a dedicated film scanner that accepts medium format film and doesn’t cost a year’s salary.
Medium format scans also tend to look significantly sharper than 35mm when scanned on a flatbed.
Flatbed Film Scanner Models
The most popular line of flatbed scanners is without a doubt the Epson Perfection V-series. There are a few models for different budgets and Epson has a pretty tight hold on the flatbed film scanner market.
Epson Perfection V600

The cheapest and most popular model of Epson’s flatbed film scanners.
Epson Perfection V850

The most expensive, highest quality model of Epson’s flatbed film scanners.
Canon used to make a line called CanoScan, but they aren’t produced anymore, so you’d have to look for a used model.
Dedicated Film Scanners
While flatbed scanners are marketed as specific “film/negative scanners”, they aren’t really much different from a standard flatbed scanner with cheap film holders included. A scanner that’s solely designed for scanning negatives is definitely going to give you the best results.

There are some downsides to a dedicated film scanner, though. The workflow is oftentimes much slower than a flatbed scanner and, as we mentioned above, it’s hard to find a dedicated film scanner that accepts medium format film.
Still, we much prefer a dedicated film scanner to a flatbed – the difference in quality is pretty noticeable.
Our top choice for a scanner to digitize negatives would be an OpticFilm scanner by Plustek. There are a number of different models, each with varying specifications and price points.
By no means are we saying these are perfect machines, rather that there aren’t very many options and this satisfies the most needs for us.

There are a handful of beloved, older models that used to be recommended to photographers interested in scanning negatives themselves. Unfortunately, with a dwindling supply, prices have jumped significantly, and many have become quite difficult to track down.
Another issue with buying an old, used, dedicated film scanner is that they aren’t usually compatible with modern computers, nor is there an easy way to fix them if a problem occurs.
Many people who use these machines end up needing to buy an old, used computer, just to operate their scanner.
All of this said, these are oftentimes the same models used in photo labs, and they can produce great results. If you’re interested, we’d recommend looking more into the following classic brands/models:
DSLR / Mirrorless Scanning
These days, many people are turning to their digital cameras to “scan” their negatives. If you already have a DSLR or mirrorless camera, this is probably the cheapest way to scan your negative while still getting decent results.

Here’s what you need to get started:
- DSLR or Mirrorless Camera – Just about any model should do, so long as it has a detachable lens and manual controls.
- Macro Lens – Ideally with a magnification ratio of 1:1. Oftentimes a less expensive option is to search for vintage, manual focus macro lenses and purchase a cheap adapter so the lens can work on your digital camera.
- Tripod or Copy Stand – Any tripod will work, but if you’re purchasing one, we’d recommend looking at a model with a horizontal column. A copy stand is an even better option as it ensures the camera is parallel to the negative, but they cost quite a bit and aren’t as versatile as a tripod.
- Shutter Cable or Remote – You don’t want to shake the camera while pushing the shutter button, so it’s easiest to attach a shutter release cable, or get a wireless remote. If you don’t have either, you can also just put the camera on self timer so that your hand is off and the camera is completely still when the picture is taken.
- Backlight for the Film – There are plenty of options available, as well as DIY solutions. A dedicated lightbox definitely makes the process easier.
- Negative Holders / Anti Reflective Glass – You can try a DIY option, but a manufactured negative holder usually produces better results. Some people also use anti reflective glass, which can usually be purchased from a framing store.
- Photoshop / Image Processing Software – You’ll need some sort of software to process the images before they are completed. Especially if you shoot standard color film, there’s a bit of work involved to invert the colors from the negative and get them looking correct.
The process is pretty simple: illuminate the negative from behind, and position your camera parallel to the negative. You’ll want the frame on the negative to fill as much of the frame on your digital camera as possible.
It’s best to use an aperture somewhere around f/8 – where most lenses are sharpest – and the lowest ISO possible.
Then, just change the shutter speed to make the correct exposure, focus, and snap the photo. Great – only 35 more to go!
There are extensive guides to scanning negatives with a digital camera that go into much more detail than we have here.
You’ll also want to look into a rundown of how to edit the digital camera “scans” after taking the photos.
Final Thoughts
Especially in this digital age, scanning has become one of the most important parts of film photography – many young photographers have shot hundreds of rolls of film and have never even gotten prints made!
Some people don’t realize how significantly the scanning of negatives impacts the final look of their photos. Even a perfectly exposed photo taken on the nicest gear can be totally ruined by a bad scan job.
There’s no single “best” way to scan negatives – it’s going to be different for every photographer. When deciding which option is right for you, you should be considering your budget, the quality of scans you need, and how much time you want to spend scanning negatives to digital.
What’s your preferred method to scan your negatives? Let us know in the comments!